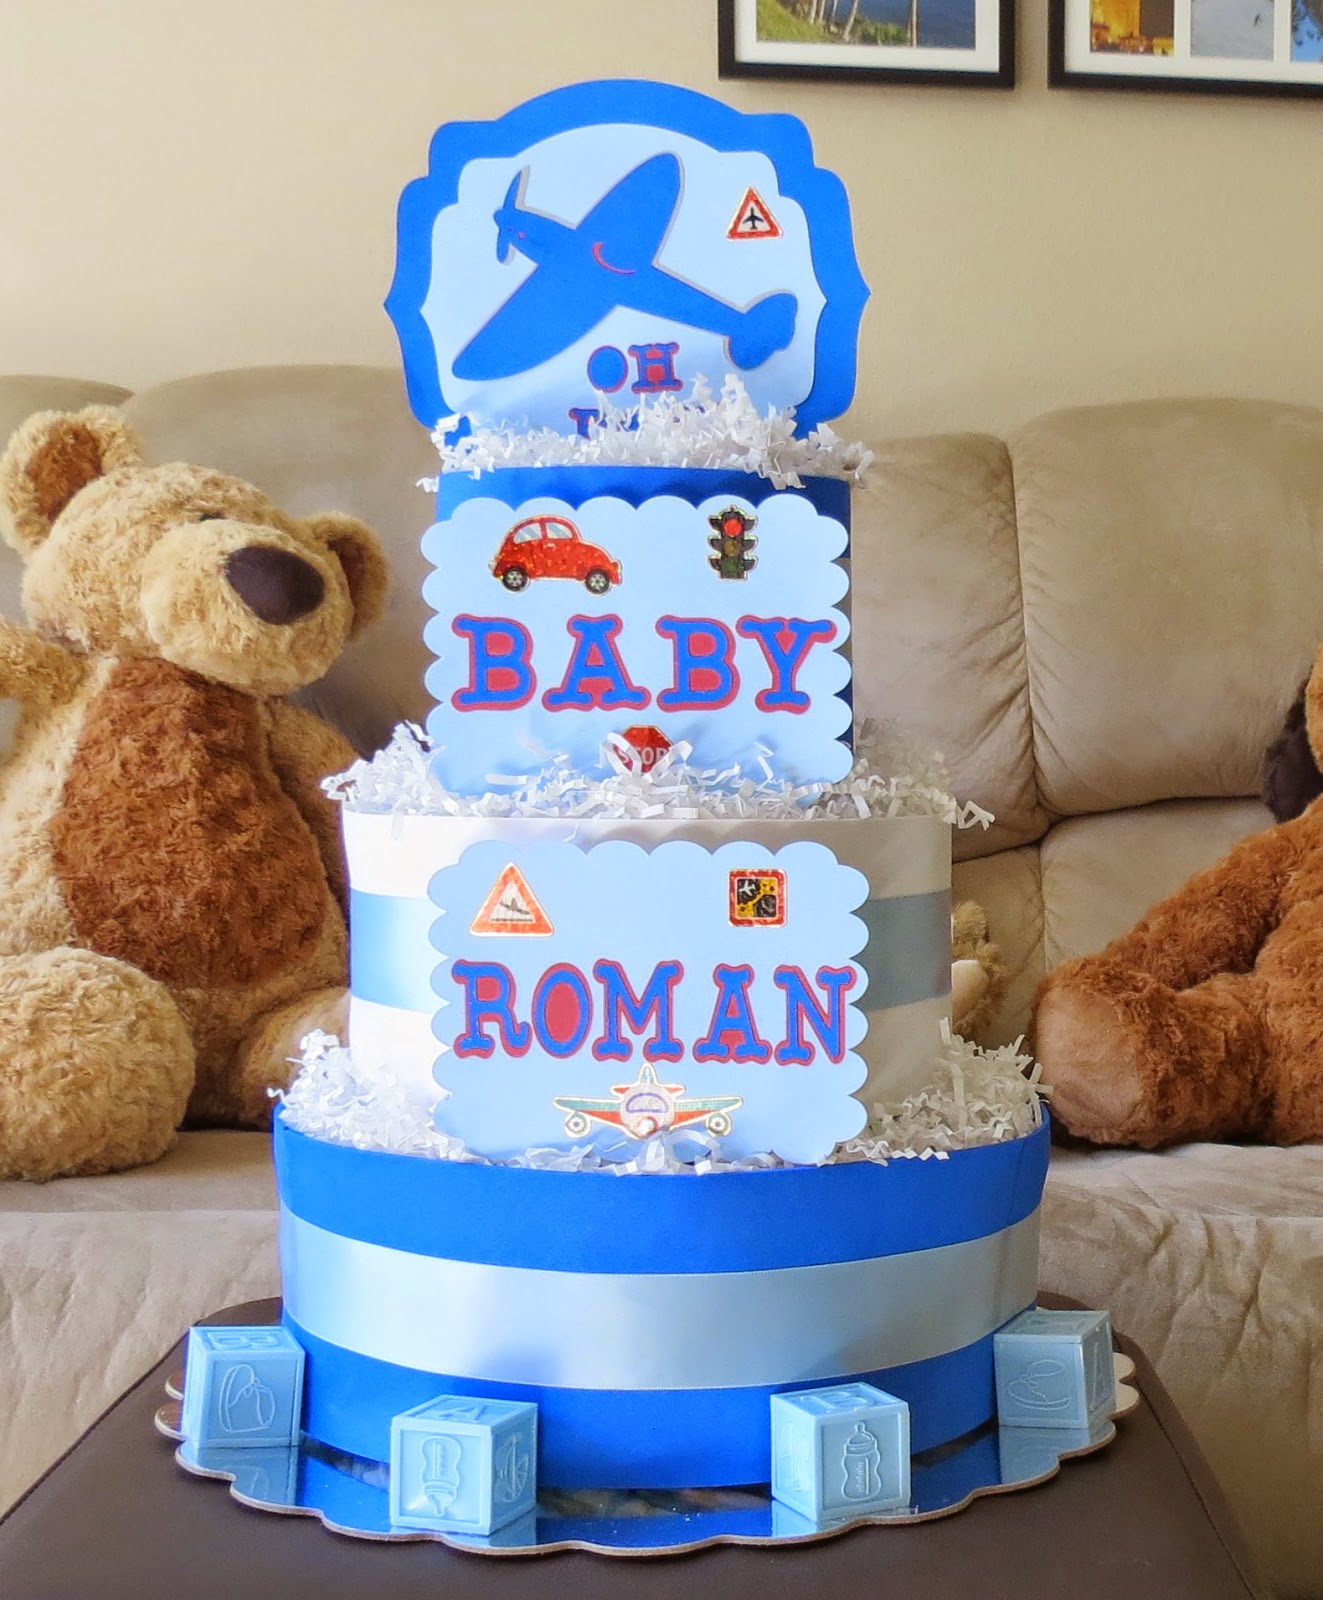
Roman's Banner and Baby Shower Diaper Cake I made this diaper cake and banner for my daughter's baby shower. My grandson is due to arrive on January 15, 2015!! The theme was cars, airplanes, and trains. Since my daughter and most of her friends are air traffic controllers, we decided to have an airplane in the center. The banner has the matching airplane also in the center and on the ends I placed a car and a train. I took these photos afterwards in her home. She loves the banner and will be placing it in Roman's room as a decor. It looks small in the photo but is quite large. It reaches from one end of the wall to the other. I can make almost any theme you would like for a shower or any type of party. Just go over to my Etsy Shop and leave me a message. www.etsy.com/shop/mymixedmediacrafts Thank you for stopping by!
Posts
- Get link
- X
- Other Apps
Sofia's Baby Blanket This is a blanket that I made for my granddaughter Sofia. I learned from a young age to crochet and I make items visually. I would love to understand the instructions on crochet patterns, since there are so many beautiful items you can make. There are many learning videos on the internet and if you would like to learn to crochet, just type it in the search box and see what comes up. I will probably do the same and see if there are videos on patterns. Thanks for stopping by.
Miniature Wooden Playground
- Get link
- X
- Other Apps
This playground was made for my granddaughter Jaylene. It was made with recycled items, and different shapes of craft sticks. There are buttons I used as decoration for the main play area. I also used yarn and painted sections of the sand box. The picnic table has a pink rectangle foam board. The swing seat was made from a juice bottle cap. The slide has wood craft sticks on end and in the center, there is a cardboard piece, construction paper and a plastic sheet on top. It was a lot of fun making it, perhaps you would like to try it, using different items. Miniature food items placed on picnic table. Playing in Sandbox. Sliding Down
Dry Erase Calendar/Cork Board
- Get link
- X
- Other Apps
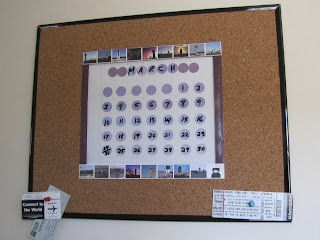
DIY Dry Erase Calendar/Cork Board is a great project and is very useful. You will need a poster board or picture frame. I chose a 20" x 16" poster board. You will need to take the poster board apart or take the glass off the picture frame to place the colored circles for the calendar. Place a white or different color paper first and then glue the circles on top. (Measure or visually place the circles so that they look centered and lined up. Place the glass back on the poster or picture frame. You will then need to cut out the cork roll. I cut this one (outer section 19" x 15 3/8", inner section 10" x 8 1/4" and the distance from outer to inner bottom 3 1/2", distance outer side to inner side 5",but it all depends on how large you want the calendar area and the cork area to be. Use a large amount of an all purpose glue on cork board, and glue onto frame. Place some heavy books over cork board for a few hours or overnight. Final
DIY Valentines Dry Erase/Cork Board
- Get link
- X
- Other Apps
Valentines Dry Erase/Cork Board. This is an easy and fun project to make for Valentines day. I used a 16" x 20" poster board, but you can also use a picture frame. You will need to purchase a cork roll which you can find at any large craft store. First, cut out paper hearts and trace them onto the cork roll, then cut them out. For the letter O, use something circular like a pill bottle, placed upside down to trace the circle. Your will need to draw the inner part of the O and cut it out with a knife, instead of scissors. For the letter X, cut out two thin rectangles and glue them together. The final step, is to paint and glue everything onto the board. Materials Needed: 16" x 20" Poster Board or Picture Frame Dry Erase Markers Scissors Glue Cork Roll Pink Acrylic Paint Red Acrylic Paint
Upcycled Pill Bottles
- Get link
- X
- Other Apps
Upcycled Pill Bottles to store your smaller craft items. You can use colored craft foam for the top or a piece of cardboard and fabric. If you use the colored foam, just turn the bottle upside down and trace the circular shape. With the cardboard, you do the same, then cut a piece of fabric just a little larger and glue it onto the cardboard, then onto the pill bottle. Cut pieces of ribbon for top and lower part of bottle for decoration. You can also glue a few rows of twine. Very nice looking for any craft room. Materials Needed: Empty Pill Bottles Craft colored Foam/ or piece of cardboard and fabric Ribbons Twine Glue